The underrated art of making your own pride flags
From making buntings for your bedroom to making a flag to drape over your shoulders at a pride festival, there are many ways to create pride flags.
EDUCATIONENTERTAINMENT
Cadellin Thomas
3/27/20266 min read
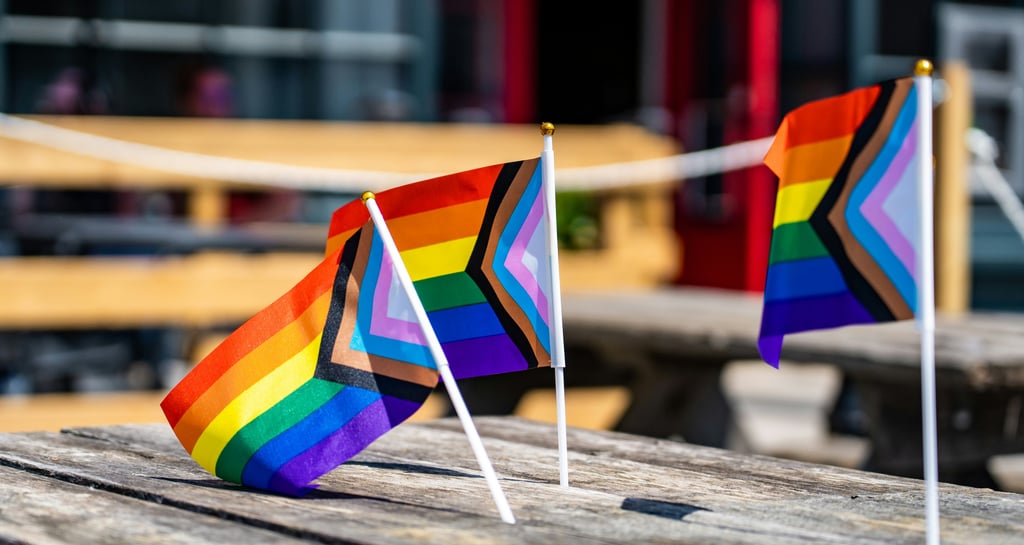
Making your own pride flags [Image: Unsplash]
It may not have crossed your mind, but creating your own pride flags can be a sustainable, fun and a connecting process. Here are some fun ways you can ‘DIY’ a pride flag.
Flags that represent the identities of LGBTQ+ people are now widely recognised icons, and many within the community align with them. They’re vibrant and meaningful symbols of pride, peace and social movement.
From making buntings for your bedroom to making a flag to drape over your shoulders at a pride festival, there are many ways to create pride flags. I'd like to introduce you to a few easy DIY methods that can help ignite your creative spark and potentially save you money.
Some of these techniques require extra focus on details to ensure the method is executed effectively and without risk, so I will refer you to some external websites that will be able to provide more information than my foundation.
Painting and Drawing
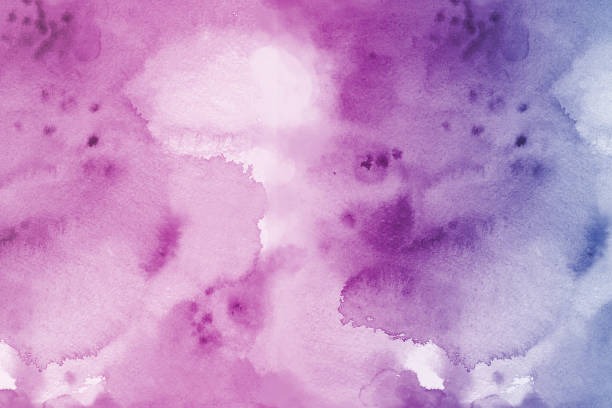
Starting small, this is one of many methods of ways to create simple designs, such as buntings, paintings or other decoration for your wall. Water colours can create beautiful designs that are fun to make, they’re also relatively easy to get hold of and understand! Many craft stores will sell water colour paints and brushes.
You can paint your pride flag designs onto paper or card, but you can also find watercolour paper that will work better structurally, as the water from the paints may weaken other papers.
There are many online tutorials on how to create paper bunting. Here is one technique I found helpful that can work well to create a canvas for the flags.
Water colours can create beautiful designs [Image: Getty Images]

Markers
A similar method to water colour painting, but using marker pens will give you a more solid ‘pop’ of colour rather than fusing cool hues. From permanent markers to felt tips, the choice of pens is vast, and they are often sold in large batches with many colour options suitable for many pride flags.
You can also work this into a bunting, or on paper or card. One minor warning, careful what surface you draw on to. Some markers tend to seep through and leave marks on tables, counter tops or other pieces of paper! Trust me, no matter the brand, they’re not fun to clean either.
This tutorial shows you how to make a handheld flag design, you can adjust to your method as preferred, but it could be a helpful guide. For example, you don’t have to use four pieces of paper as it shows, and can use the tube for a handle.
Markers give a more solid pop of colour [Image: Getty Images]
Repurposing Fabric
Sewing
This one is my favourite, a simple sewing together of fabrics. Second-hand fabrics can work great with this. It requires less effort and fabric requirements compared to other methods, but can give you the best results.
There’s very little for me to say here, apart from that it’s probably the best way to personally create various large-scale flags. This tutorial is a great introduction to this process, though the designer uses woven fabric instead
The best way to make personal flags [Image: Getty Images]

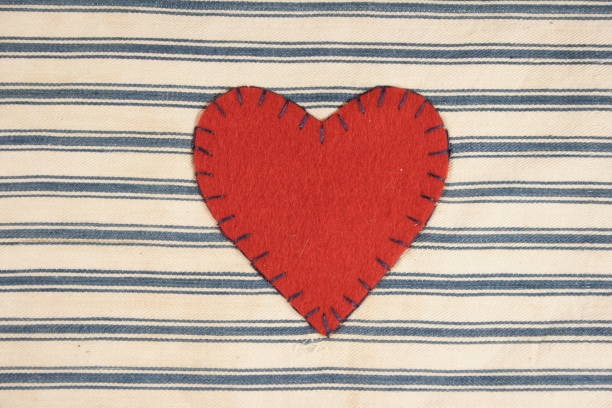
Appliqué

Appliqué is a common textile method which involves sewing or sticking fabrics on a larger piece to form a picture or pattern. There are many ways to approach this method; you could make a small pride design or create an entire flag, and it can be completed simply through both hand stitching and machine stitching.
Appliqué often involves a fusible web that will help it stick to the fabric. This method can create some great designs, so forgive how it may sound like jargon at the moment. It’s easy once you get the hang of it.
This article gives you a good foundation of the basics and a free design.
When researching for this article, a volunteer from the Green Party introduced me to the works of Vox Margo, a queer artist local to me who repurposed a jacket with applique to create a pride design.
You could make a small pride design or create and entire flag [Image: Getty Images]

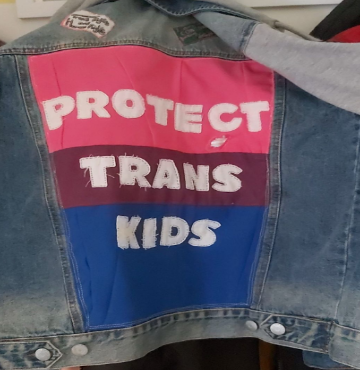
Vox was very friendly and guided me through the process of repurposing this jacket. In summary, they took three fabrics for the main colour, used to repurpose and found through second-hand resources such as Olio and other ‘freebie’ websites.
By measuring the proportions of the area where fabric was being applied, they sewed on the flag and letters, also covering the small hole in the fabric by placing ribbons in the colour of a trans flag underneath.
Vox also noted the importance of ensuring that fabrics used for clothing textiles can sustain heat and washing, so keep that in mind if you’d like to try it out!
Colouring & Dyeing Fabric
Markers... again
Markers can be surprisingly versatile in crafts, and there are multiple kinds of textile/fabric markers that are sold at retailers such as Hobbycraft or SewProCrafts.
Depending on how large the fabric is you wish to colour, being able to dye on a greater scale may be difficult. I’ve found markets tend to run dry if I use them on a fabric over 20 cm in width or length.
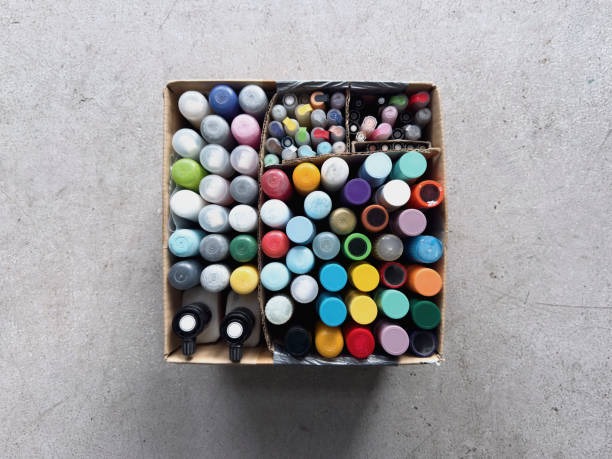
Perhaps you could take inspiration from pride designs on websites such as Pinterest, or search for badge designs (pictured) and draw your own pride symbols inspired by these! One idea is to buy some plain fabric to draw on, then stitch it onto something you already own?
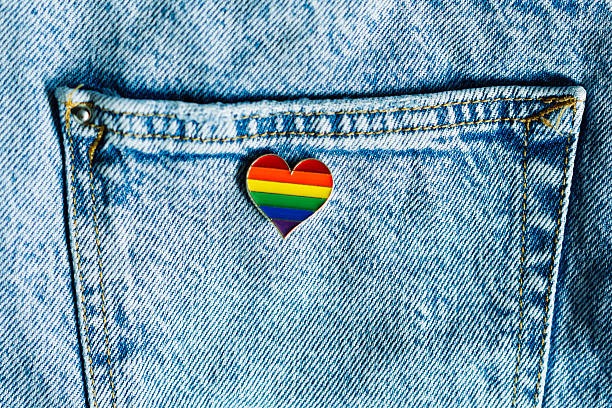
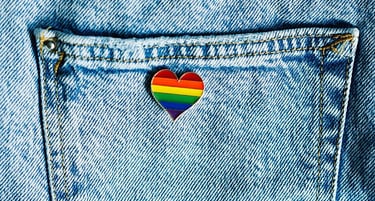
Draw your own pride symbols! [Image: Getty Images]
Transfer & Disperse Dyes
Transfer and disperse dyes are a great way to make designs, especially flags. It is simply painting a design onto paper/card and then transferring it to fabric.
Picture this: you make a painting, you lay it flat on top of fabric after it dries and then safely iron it on. That’s it, that’s essentially this process.
Transfer and disperse dyes can be purchased at craft retailers, and it is suggested that you use synthetic fabrics. I relied on this method a lot during my Textiles A-Level to create specific designs and it worked well, offering a lot versatility.
For a flag design, I’d recommend a white, polyester fabric - I’m sure you could find shirts to repurpose in a charity shop that fit this brief.
These two links are great starts and walk you through how to create various designs and use transfer/disperse dyes safely.
I relied on this method during my textiles a-levels [Image: Getty Images]
Did you know…
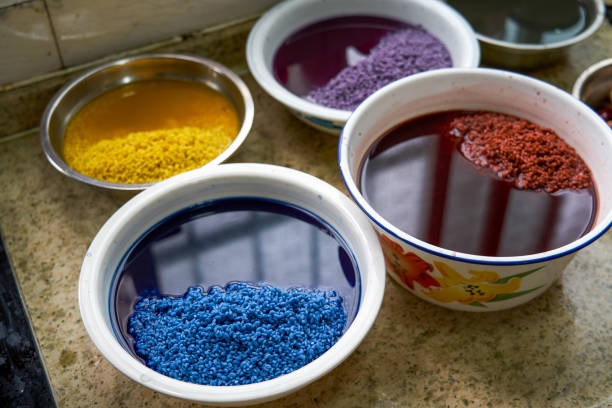
Did you know you can make dye for your clothes and fabrics at home, with ingredients straight from your fridge? To the unlucky few of us who have stained their hands or clothes when preparing food, it may not be as much of a surprise.
Natural dyes can make some great colours that can ‘pop’ once made into a liquid, but can often come out quite light depending on the fabric. Natural dyes do require attention to details to make, but are still an exciting and relatively simple method.
Here is a great source to get started with natural dyes.
A lot of these techniques can also work in conjunction with one another.
Maybe you want to naturally dye some old clothes or bedsheets and sew them together? Perhaps you could paint a pride design onto some paper, print it onto fabric and use the leftover paper to make a pastel-themed bunting? The creative is in your hands now.
I hope you’ve enjoyed reading and will consider trying these methods out. Be mindful of how you create, but still enjoy yourself!
Want to learn more? Here are some other links that tie into the topics of this article and may interest you!
